Introduction
Hello. What tools do you use to create your documents? This time, I introduces a static site generator called VitePress. VitePress is Vue based and he can do SSG, which is useful for document generation etc. Official introduces as follows.
VitePress is VuePress' little brother, built on top of Vite.
VuePress uses Vue and WebPack, but VitePress uses Vue and Vite. You can also embed Vue components in Markdown as custom components, but you don't need to know anything about Vue to create a document.
This time, I would like to introduce such basic usage of VitePress, multilingual support that is not yet described in the document, homepage layout, meta tag injection, custom components, how to apply custom CSS, and so on.
The following version was used for verification.
Development environment
First, create a development environment. Node.js and package manager are assumed to be installed. Also, it is assumed that Yarn is the package manager, so please read as appropriate.
Now, install VitePress in a directory of your choice.
Determine the root directory of the document.
This time it is docs. In addition, add index.md to the document root.
It is convenient to add the following script to package.json.
Since you made docs the document root, you'll match the script with it.
Running the docs:dev command will start the development server.
You are now ready.
File structure
First, let's understand the file structure of VitePress. VitePress requires the following file structure from the document root.
Below .vitepress, you can customize VitePress meta information, themes, layouts, and more.
Of course, it works fine without any customization, so set it as needed.
Markdown file and URL path
Looking at the file structure one by one, the file path of the * .md file under the root will be the URL path as it is.
There are three files here, index.md,en.md, and ja/index.md,
which will generate a page that can be accessed at the following URL.
For index.md, you can load the correct page with a path ending with a slash, otherwise with the addition of .html.
Layout
VitePress has two built-in layouts. These can be controlled from the .md front matter.
Home layout
The home layout is as follows.
In addition, the following items can be set.
heroImage and heroAlt specify the src and alt attributes for the img tag.
By the way, if you specify a path starting with a slash like heroImage, it will refer to the file in the public directory.
You can add link buttons with actionText and actionLink.
And can also add an array of title and details to features to get a nice output of your project's features.
You can add a footer tag to footer.
By setting these, can create the following layout.
Document layout
Next is the document layout. Basically, just write the markdown and the layout will be as follows.
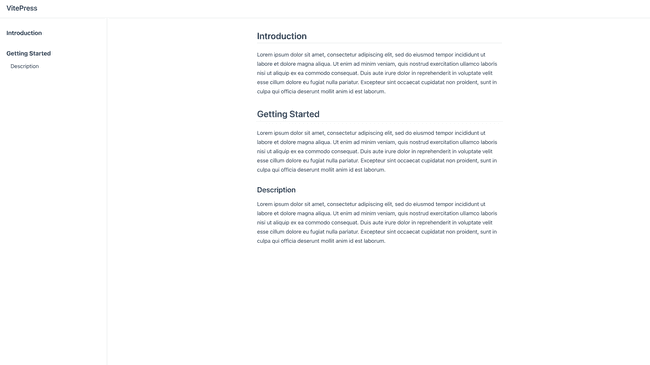
Now let's take a look at the title tag. By default, the title tag looks like this:
If you add the h2 tag as markdown, h2 content will be automatically added to the title.
In addition, this automatic insertion can be controlled by setting it in the front matter.
By the way, the title of the home layout is fixed to Home, so it seems that it cannot be changed.
You can change the project name of the title from the global settings described later.
head tag setting
You can set the head tag as a setting common to both layouts.
As we will see later, there is also a way to set the head tag globally,
The one set on the page has priority.
In this way, you can set the head to the meta element or the link element.
This allows you to write OGP related tags without any problems.
So far, we've seen how to customize Markdown with Front Matter.
Now let's look at global custom settings using the config.js file.
Global settings
First, let's take a look at the type definition of the configuration file.
This time, I will explain each item excluding alias,markdown, and customData.
Also, this config file is only recognized by .js. Unfortunately, it is not possible to do type completion with Typescript,
You can use JSDoc for type completion as follows.
lang
The lang property allows you to change the lang attribute of the html tag.
Since it is added to the built-in attributes for VitePress such as $siteByRoute and $site,
It can also be used to create and embed .vue components.
title
The title property allows you to set the project name for the title in the head tag.
base
The base property should be set when deploying the site under a subpath, such as a GitHub page.
For example, if you want to deploy to the URL https://foo.github.io/bar/, set/bar/.
description
The description property allows you to set the description of the head tag.
However, if it is in description in the front matter of Markdown, that will take precedence.
head
The head property allows you to insert a head tag.
This is useful when you want to set it for the entire project instead of setting it for each page.
It is a double array and it is a little difficult to understand, so I will give an example.
If it is also set on the page, the page has priority.
themeConfig
The themeConfig property allows you to control edit links on GitHub and configure navigation settings.
There are a few elements, so let's take a look.
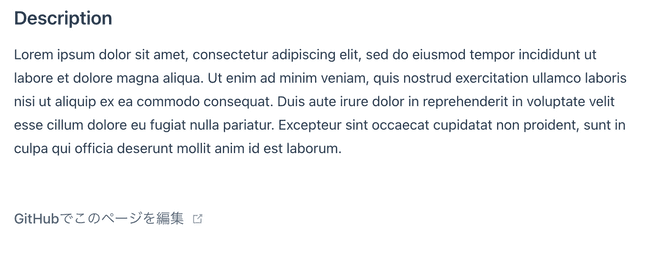
GitHub edit link
You can automatically generate GitHub edit links by setting up a GitHub repository or branch. A link is also added to the navigation at the top of the page.
docsDir specifies the document root on GiHub.
Basically, it is the same as the document root set at the beginning and there is no problem.
lastUpdated
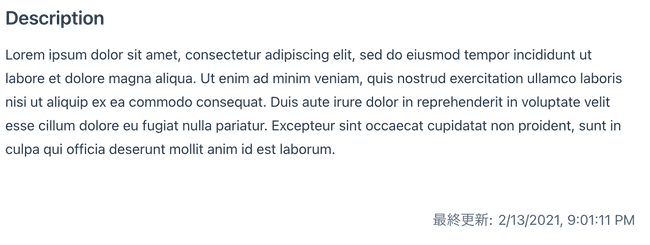
You can automatically generate the last updated date of an article with the lastUpdated property.
logo
You can set the logo at the top with the logo property.
 This logo may be misaligned depending on the image size, but it will be fixed by the custom CSS described below.
nav
You can set the navigation at the top with the nav property.
At this point, the document should be created nicely. Of course, you can leave it as it is, but there are still more customizable elements in VitePress.
From here, I will explain about multilingual support, custom components, and custom CSS.
Multilingual
VitePress generates paths on a file basis, as described in Markdown Files and URL Paths. Therefore, for multilingual settings, prepare a markdown file for a different language and just switch languages.
There is a built-in menu component for language switching. Let's take a look at that setting.
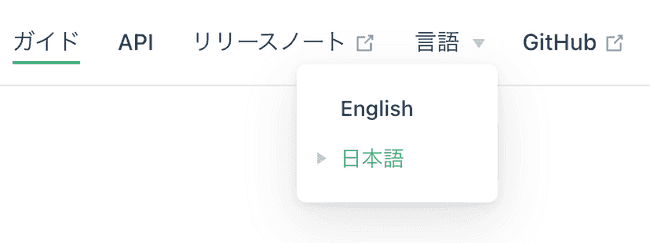 This allows you to switch languages. It's convenient✨.
You can also set the themeConfig property described above with the locales property.
For example, to change editLinkText depending on the language, do as follows.
The key specified in locales is mapped to the URL path.
In addition, if it is not in locales, it will fall back to the property of themeConfig.
editLinks is common across languages, so you can set it as in the example above.
Not only themeConfig but also head tags can be multilingualized. For example, to make the description property multilingual:
In summary, config.js looks like as below.
The point is that the locales property can be set in both the part that modifies the head tag and the themeConfig property.
Some OGP tags etc. are omitted, so please add them as appropriate.
Custom components
You may also want to use Vue components for markdown.
With VitePress, of course, you can do that with very little configuration.
First, create a components directory under the .vitepress directory and create a components directory.
Make a suitable component there. The name components can be anything.
Then register this component globally. This is the same flow as Vue3.
Create a theme directory under the .vitepress directory and create a index.js file.
A Vue instance is passed to a property called enhanceApp in index.js, so set it as a global component.
Also, Theme is required when using VitePress default layout etc.
Then place the component directly in the markdown file.
Custom CSS
You can override the style to change the theme color and logo size. First, let's take a look at CSS Variables.
These are easy to change, so let's change the brand color. Also, change the size of the logo.
To change it, define the property you want to overwrite in the CSS file and import it with theme/index.js.
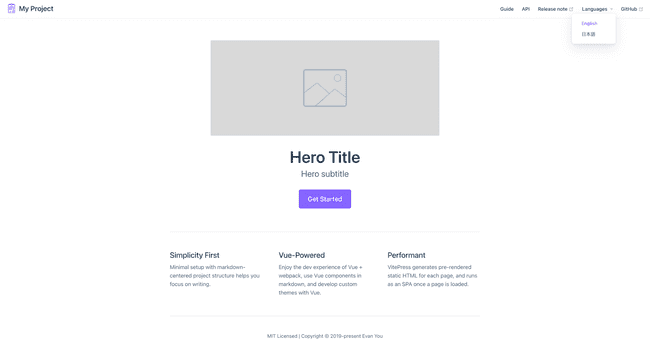
In this way, I was able to change the color and size of the logo.
Summary
I've seen document creation in VitePress.
Currently, VitePress is very particular about being minimal, and it's being debated whether its role is to focus on document generation or to add features for things like blogging. There is still room for development and there are bugs in the details, but I would like to expect future trends.
Edit this page on GitHub

